Rice is a staple in most people’s homes, including mine! It’s filling and the perfect complement to so many dishes, from meat and veggies to curry. Let me start by acknowledging that I know cooking rice isn’t a huge endeavor, to begin with. However, it does require babysitting and often boils over, leaving a starchy residue all over the stove. Enter, the Instant Pot! I’ve loved mine for over a year now, but up until recently, I hadn’t really used it for staples (think rice, hardboiled eggs, and bone broth). Let me tell you, it is totally WORTH IT, even to do the smallest tasks in the kitchen. This perfect fluffy rice is no exception.
Want New Instant Pot Recipes and Content Delivered Straight To Your Inbox? Sign up for our Instant Pot Email Newsletter!
Cooking rice in my Instant Pot doesn’t really take less time than the traditional stovetop method, but that’s just not what it’s about! Using this method, you can set it and forget it instead of standing by to bring it to a boil and then turn the heat down. You can walk away and not have to worry about checking in on it even once! Plus, as previously mentioned, I’m no stranger to having my rice foam up so much that it drips down the side of the pot and burns onto the element and that is not my favorite thing to clean up, let me tell you. But most importantly, cooking rice in an Instant Pot means you can serve up fluffy, perfectly cooked rice every single time because the pressure cooker cuts out any variables.
Want more Instant Pot rice recipes? Check out our list of absolute best IP rice dishes here!
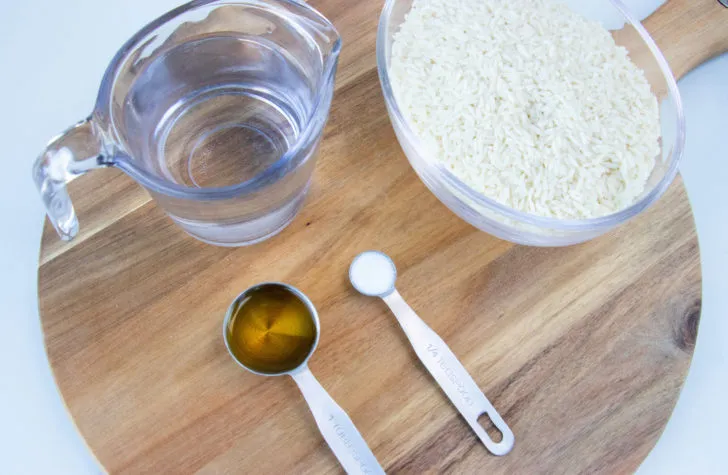
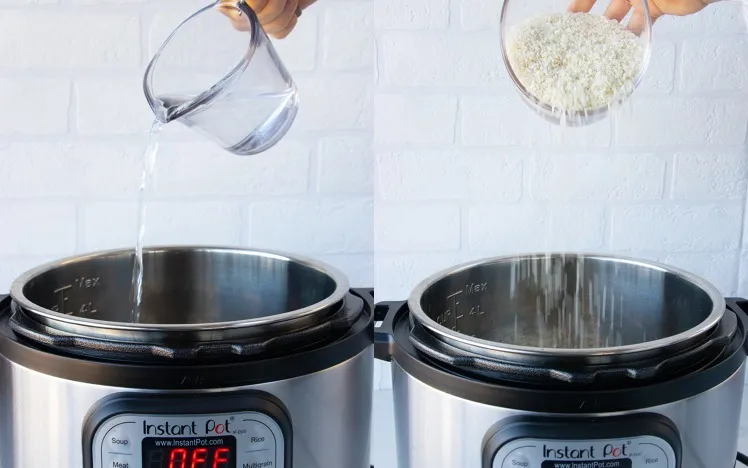
Begin by adding your liquid to the Pot. We used water, but you can also use a chicken or vegetable broth for a richer flavor. We used 2 cups of liquid, but as long as you don’t go below 1 cup or above (approximately) the half fill line in the pot, you can make as much or as little rice as you want. You also always want to keep the ratio of liquid to rice 1:1 (yes, you read that correctly). Read the notes section for more information on that.
It’s important to add your liquid first and not stir the ingredients, as adding the rice first may give you the Burn Notice. Adding a bit of fat (butter, oil, and coconut oil all work!) keeps the foam down in the cooking process and gives the rice a little bit of extra flavor.
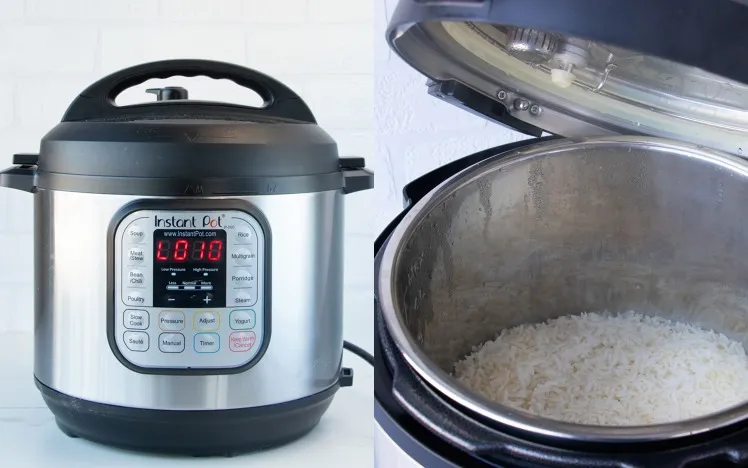
Once you’ve placed the ingredients in the pot, lock the lid, and turn the pressure valve to sealing. Set your Instant Pot on Manual HIGH for 3 minutes. It took our Instant Pot about 7 minutes to come to pressure, with 2 cups of liquid, however, this time will vary depending on how many cups of rice you’re cooking and what model of Instant Pot you’re using.
Once the cooking time has elapsed, allow for a 10-minute natural release before quick releasing any remaining pressure.
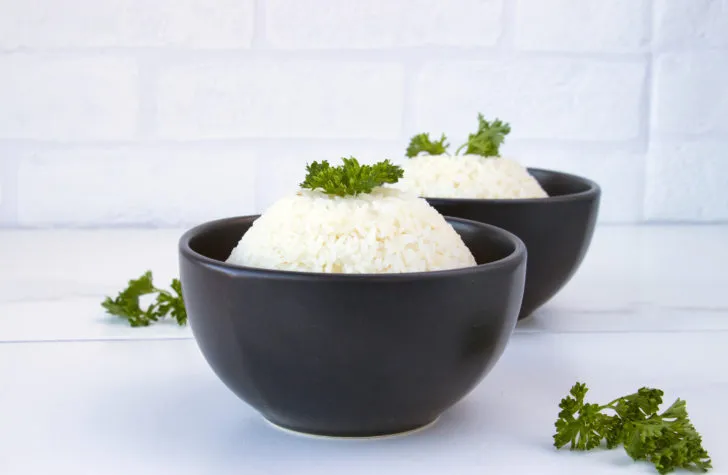
Once the pressure is completely released, open the lid and fluff the rice with a fork. Serve hot!
Any amount of rice can be cooked at a time, as long as you follow the 1:1 ratio of rice to liquid. Cooking rice in an Instant Pot requires less liquid than the stovetop method because no evaporation occurs during the cooking process.
Water is often the default liquid for cooking rice, but a chicken/vegetable broth will make for a richer flavor. Both result in fluffy, flavorful rice, so it’s up to you!
This particular method only works for white rice, not brown or wild rice.
Want New Instant Pot Recipes and Content Delivered Straight To Your Inbox? Sign up for our Instant Pot Email Newsletter!